Aileron Trim and Wing Electronics Module
This past weekend I finished up most of the aileron trim servo installation. My remaining tasks were to glue down the doubler, and to install the connectors for the wire harness. Before gluing down the doubler, I decided to increase the number of screws holding the plate from 8 to 12, matching what is done for the RV-10 install. As I was getting ready to screw the plate onto the skin for a fit check, I clumsily dropped the skin onto the ground, and it promptly creased near where the much stiffer servo bracket was attached. So, I made a new inspection plate, this time from 0.040″ material (up from the original 0.020″ I initially used). The new plate is much more stout.


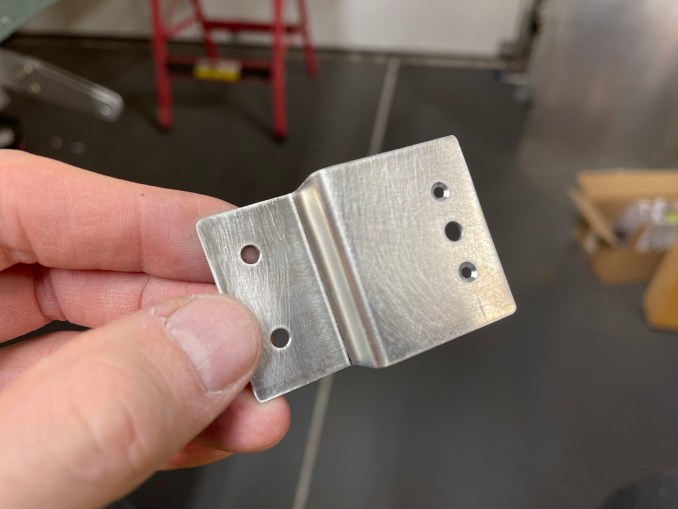
In the RV they use Amphenol Microfit connectors, but since I was already using Deutsch DT/DTM style connectors in the wing, I decided to use that here as well. When I bought the Deutsch connectors, I also bought clips that are designed to secure the socket side of the connector. I made a small angle to attach that clip to the servo bracket. At this point I’ve done all I can do before the wing is attached; once the wing and ailerons are attached, I can install the springs.


My last task before closing up the wing: rather than having a large bundle of wires going out to the wing, I have designed an electronics module to remotely control the lights and servo. I needed a place to mount this module, and since it’s still a work-in-progress, I wanted to mount the electronics module in an easily-accessible location. I decided that mounting it to the main spar, just behind the landing and taxi light, will be pretty easy to access from the front of the wing, should I need to update the firmware on the module. In order to mount this module here, I made up some z-brackets that pick up existing rivets on the spar.