Right Fuel Tank Accessories
I spent some time this weekend adding components to the right fuel tank in preparation for closing it up: the fuel level sender, drain fitting, and fuel cap. I also drilled out and replaced a few sealed rivets from the previous session of setting the ribs where some rivets didn’t seat properly.
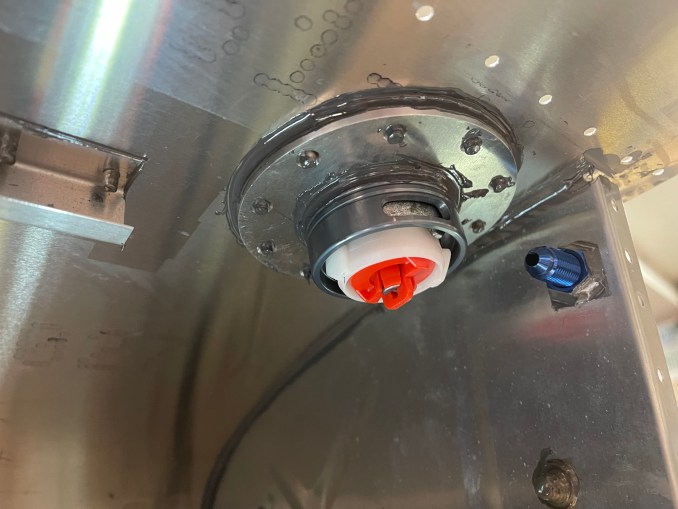
The fuel level sender comes with an adjustable length bracket with plenty of excess wire to accommodate various installations, but TAF customized the fuel tank design to use a much shorter bracket. Rather than have a long coil of extra wire wrapped around the bracket, I shortened the wire, and resoldered the shorter wire to the circuit board inside the sender. Next, I tested the fit of the float, and adjusted the stops on the sender so that the float doesn’t bang against the skins. I also hooked up the sender to a meter to verify it was working – I measured between 15-185 ohms depending on position of the float, which is the correct range (10-180 nominal).


The fuel cap is set inside a pair of flanges riveted to the skin, but the fuel cap itself is held in place solely by sealant. After setting the cap, I applied a bead of sealant inside the tank, on the rim of the flanges as well as the cap assembly.

I also modified the rack that was holding the right wing to allow it to stand vertically, which other builders have noted makes it easier to attach the fuel tank.
