Starting Side Skins and Insulation
Per a suggestion from Craig M’s fuselage build order (link), I’m starting the side skin installation by installing the forward interior wall skins first. I’m glad I did, because I had to drill out some rivets in the floor skin that are shared with the wall skin, and it was much easier to retrieve the drill debris and rivet tails without the exterior skin attached.

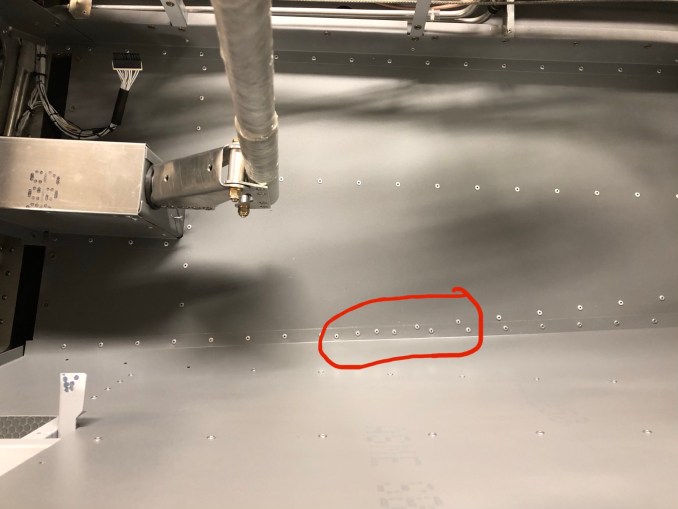
The interior skin is mostly attached to longerons that run from the beltframe ahead of the wing spar up to the firewall, so I also put in these longerons.


I’m applying the factory-provided (thin) insulation on the interior skins. The exterior skins get the thicker insulation that I bought from Aircraft Spruce. To measure the pieces I needed for the exterior skin, I temporarily attached the skin and all the stringers to the fuselage, and then used a crayon to trace the spaces where insulation will go. I then detached the skin and measured each of the crayon boxes, and started cutting the foam pieces one at a time. I’m down to the last of my thick foam, so I’m trying to layout the cuts carefully to minimize waste. I think I’ll have just enough.


There is a NACA scoop on the forward part of the skin, which brings fresh air into the cabin. I’ll have to figure how to cut the insulation around it. I’m thinking I should attach the scoop first.