Resuming Fuselage Work
I had planned to spend Sunday doing the majority of the sealing work on the right fuel tank, but I discovered a crease in the leading edge of the skin. I spent a bunch of time trying to smooth it out, but I was not satisfied with the result. I have to ask TAF to send me a new skin, so unfortunately that means the wing is on hold for now.
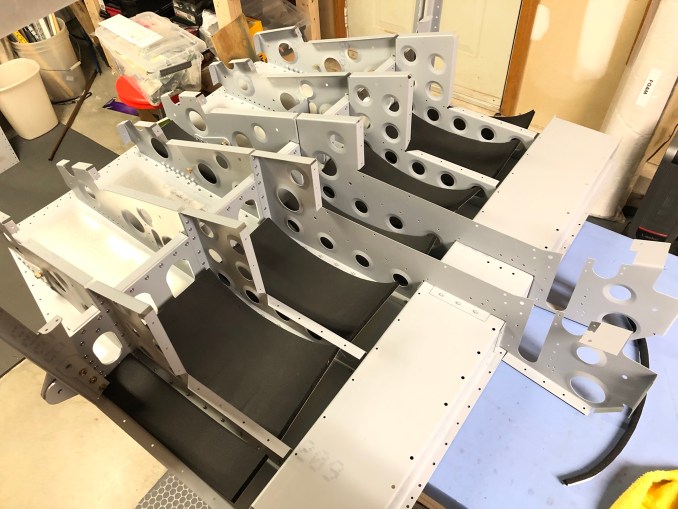
Now I’m back to working on the fuselage. We had good weather today so with the remainder of the day I primed a few more parts that I will probably need this week. Afterward I decided to spend some time putting in the 1/4” “super” insulation foam I recently got from Aircraft Spruce. Like other builders, I opted to get denser & thicker foam than what is supplied with the kit.
At first I cut the material using a standard box cutter, which works ok but tears the material a little, even with a brand new blade. I remembered that I had a nifty rotary cutter made by Fiskars, which cuts this material without tearing and leaves a clean, square edge. I cut pieces to fit underneath the baggage floor and for the center fuselage floor between the seat ribs.


Next up will be attaching the main spar carry-through to the mid and front lower floor sections, so this assembly is about to start becoming quite big.