Process Makes Perfect
After about 2 days of drying, my freshly-primed parts for the horizontal stabilizer started showing spider lines in the paint, then flaking off and looking like this horror:

It took me a while to figure out what went wrong, but it looks like I failed to properly clean the parts before priming with SEM Self Etching Primer. I had been using the Simple Green Extreme precision parts cleaner to clean and de-grease, then drying the parts with a clean towel. Here’s where I went wrong – after this step I went right to priming. The important step I missed was to rinse the part off with water, to remove the cleaner from the surface of the part. Going through a Google search, I also learned that a lot of people do a final cleaning with acetone or isopropyl alcohol right before priming.
Check out my Process page for details on my revised priming process – which I can confirm now works successfully.
Mercifully, I’ve been able to fairy easily remove all the primer from the affected parts using the Simple Green cleaner and a Scotch Brite pad – still a lot of work though. I got through about half of the HS parts tonight, will have to finish tomorrow.
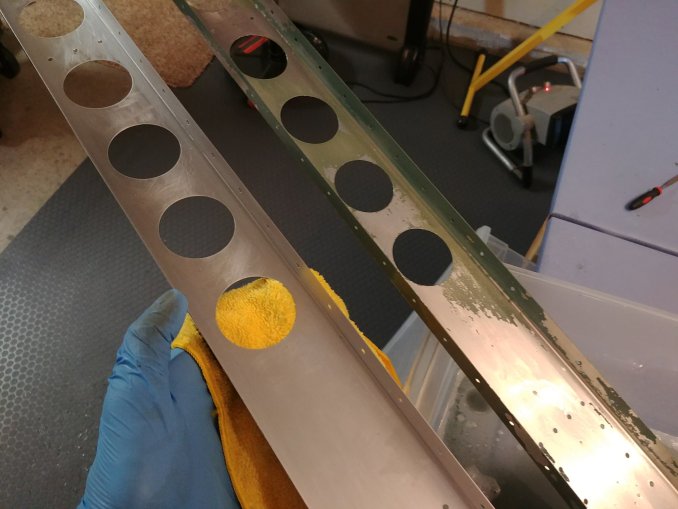
After following the 9 steps above, I re-primed one of the parts (a plate) and the finish came out much better. On the left is a part that I stripped back down to the bare metal, and then cleaned with the new process. On the right is a part that was reworked and was sprayed with 3 light coatings of primer. Tomorrow I’ll do a tape pull test to make sure the primer adhered properly.

I work in engineering so I know how important it is to have your process right, especially when it comes to applying coatings to metal. Lesson learned – do a test of your process on a scrap part first to avoid having to rework a bunch of parts like I did!
I haven’t seen any other replies so sorry if I’m repeating someone else’s comment. I cleaned my RV parts with PPG AcriliClean DX330. Wiped it on with a clean paper towel (at least 2 passes) and wearing gloves and it dries clean, no rinsing. I’ve been mostly using epoxy based primer but have also used self etching spray bomb primer on some parts for convenience. Both have worked well for the most part though I have had some parts that wouldn’t have passed a tape test, which I attribute to not being thorough enough wiping down the parts. It’s easy to get complacent after your 200th part! That’s got to be one of the biggest challenges with building a plane is not letting yourself get complacent.