Preparing Fuselage Join
Build Manual Reference: TSi Fuselage KAI Page D3, D4, D6.5, D11
I’m doing things a little bit out of order compared to the fuselage KAI as far as the center and rear fuselages go. There are two factors that drove this: (1) all of the wiring & plumbing work I decided to do in the center fuselage now rather than after the fuselage is assembled, and (2) I was awaiting a replacement part to replace a damaged rib in the rear fuselage. Because of #1, I have certain wires (e.g. VHF) and the rudder cables already installed in the center fuselage, whereas the build manual would have you install these in the rear fuselage first, and route them forward after joining the fuselages.
Given how crowded and cramped the center fuselage is, especially where the wires and rudder cables run through the center tunnel and through the spars, I am very happy that this work is done already, since routing them through the rear fuselage is far easier! I just have to plan things a little carefully to avoid “painting myself into a corner”, so to speak. For example, I need to join the center and rear fuselage before installing the luggage floor, otherwise I won’t have access to secure the wires that run underneath the floor or in the longerons. Per the build manual, the luggage floor would already be installed before the center<>rear join.
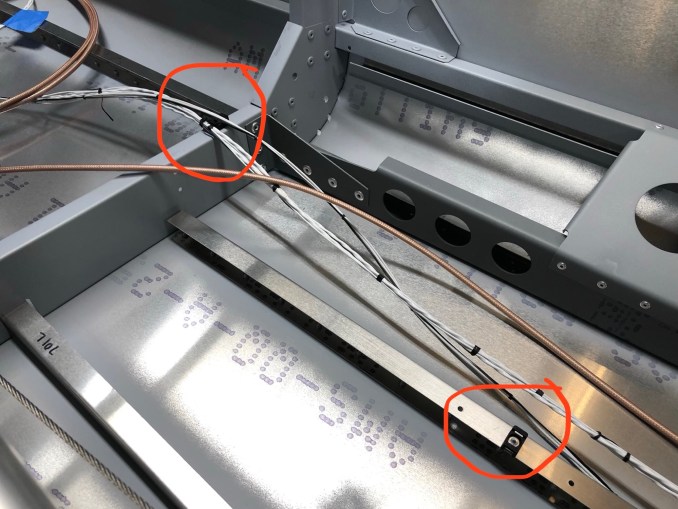
So, considering all that preamble, my recent work involved temporarily joining the center and rear sections, planning the order of installation around the luggage compartment area, and working out how to secure wires, installing standoffs as needed. The manual suggests wiring should be installed inside the longerons running along the side skins, but I am instead running the wiring along the floor channels – it just seems to me a more logical way to route the wires, easier to access through the inspection covers, and easier to route through the center<>rear join.


(Build Manual Reference: TSi Fuselage KAI Page D6.5, D11)
I also pulled the luggage closeout skin off the parts shelf since that will need to beinstalled relatively soon. I needed to cut a piece of insulating foam to attach to the aft face of the skin, since this is effectively the rear wall of the passenger cabin.


While working on the join, I discovered a problem with one of my earlier modifications. The shaft collars on my modified elevator torque tube conflict with the conduit end fittings (I think that’s what they are called?) on the rudder cable assemblies. Luckily, the fix for this isn’t too hard, I just need to move the shaft collars to the outside of the floor ribs. I’m making some improvements to go along with this fix, more details to follow in my next post.
