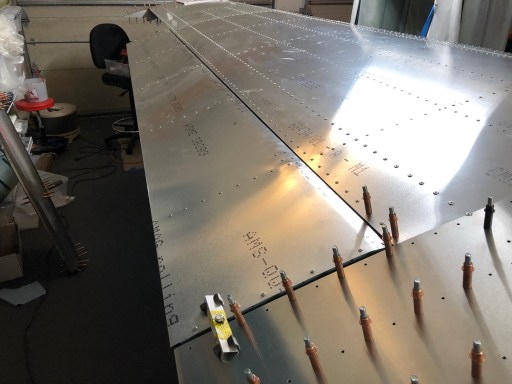
Rivet Filling & Left Wing End Rib
My fuselage kit will be arriving this week, so I spent this weekend finishing up the left wing. Last few steps are to attach the wing tip and control surfaces (aileron, flap). Before taking the jig off the wing tip, I worked on filling in all of the rivets on the bottom side of the wing with Sherwin-Williams Shrink-Free Spackling, as recommended by other kit builders. After injecting the spacking into each rivet using a 10ml syringe, I sand it down with 400-grit sandpaper to a smooth finish, using a little job aid that exposes just the rivet head. The sanding block I use is a detail sanding block kit available at Pep Boys with multiple fine grit sandpapers that stick onto the flexible block. It’s very useful for this task, but I also use this kit for removing scratches.


One last task while I had the wing upside down – install rivnuts for the large inspection holes. There are also a number of smaller inspection holes, but I’m not sure how covers are supposed to be attached – there aren’t enough rivnuts included with the kit, so I’m guessing these just get riveted on?

With rivet filling complete I flipped the wing back over and removed the end jig, allowing me to attach the end rib. Once riveted in place, I can also attach the composite fairing, but I may hold off on doing that until it’s closer to final assembly time, for a few reasons: (1) I haven’t purchased the wingtip lights yet, (2) I’m considering modifying the tips a little so that the lights will be closer to the trailing edge, similar to the TSi wingtip, and (3) I think the wingtips stand better chance of not getting damaged in transit if I leave them off. I’m planning to store the wings in our friend’s basement, since I don’t have space in my own basement.


I also attached the flap to see how it fits – looks good so far.


Next task is to finish up the aileron. I have to figure out how to attach it to the wing such that I can still adjust the fit of the skin, whilst having it held together with clecos. I know from reading other blogs that getting the twist of the skin just right can be tricky.
